68 of The Best Boutonnieres Ever Published by Martha Stewart Weddings

Trust me when I say boutonnieres for the groom and the other important men in your and his life is very important and for any wedding in Jamaica or any wedding at all its a must. It can break or make your grooms overall look.  This is so worth a look at for your upcoming wedding, Check out 68 of the best Boutonnieres ever published by Martha Stewart Weddings here: http://www.marthastewartweddings.com/231177/best-boutonnieres?xsc=tw_wed_101613_boutonnieres

For destinations weddings in Jamaica we love love numbers: 11, 12, 15, 17, 20, 49 and 54. Share with us which ones are your favorites.

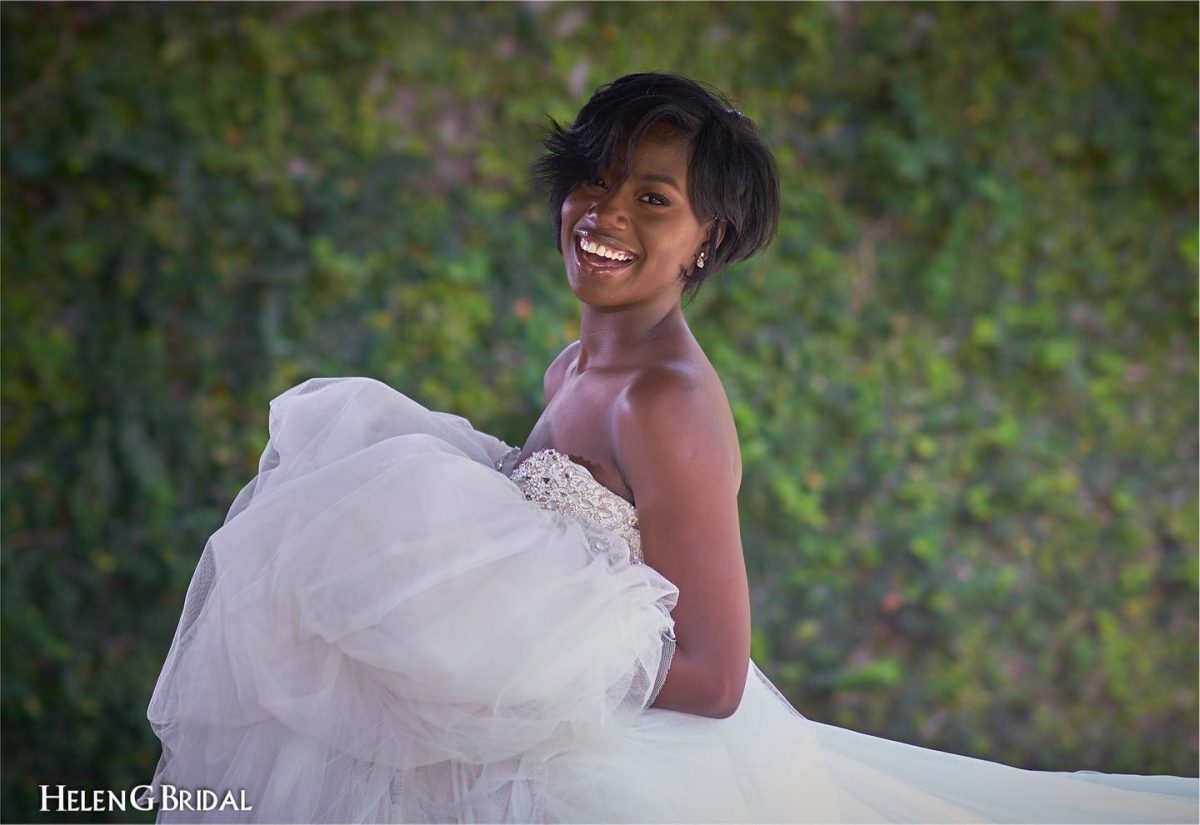
Beach Wedding Inspired Wedding Gowns

So often we see brides arrive for their beach wedding in dresses that are totally inappropriate for the water and sand.  So we decided to scour the internet to see what experts takes were on dresses that were appropriate for a destination wedding and more specifically beach weddings. Please click the links below and see images of some of our faves for your beach wedding in Jamaica:


Sone links we liked are:

http://www.marthastewartweddings.com/229219/gorgeous-wedding-gowns/@center/272419/youre-engaged#/106548

http://www.islandbrides.com/view-article/The+Wedding+Dress/28/

http://tlc.howstuffworks.com/weddings/how-to-choose-bridal-gown-for-destination-wedding.htm

http://www.colincowieweddings.com/inspire-me/fashion-beauty-fitness/wedding-gown-101

http://www.weddingdressescorner.com/2011/03/19/beautiful-beach-wedding-dresses-2/

15 Ways To Cut Your Budget For Your Wedding In Jamaica

As a wedding planner in Jamaica I meet and speak with alot of brides on a weekly basis and the main thing that’s on every brides tongue and mind right now is the word budget. Sticking to budget and avoiding debt. Also today most couples are financing their own wedding so its a major concern. See below some suggestions for trimming that budget:

1. Instead of having a full bar for the cocktail hour why not do a signature drink or just offer a limited bar.

2. Buy your own liquor wholesale. You will pay corkage to some venues for serving it but it still saves you something.

3. Have a morning wedding and thus a wedding breakfast or brunch.  Breakfasts and brunches, are usually more affordable than evening receptions. They are shorter and guests tend to consume less food and liquor early in the day.

4.  Avoid price main courses. Use expensive ingredients, such as lobster, in hors d’oeuvres where the serving size is less rather than in a main course.

5. Make the wedding or display cake your dessert. As a planner we now suggest this alot and therefore schedule the cutting of the cake early in the event so that the cake can be removed and prepared for slicing and thus dessert.

6. Avoid a full sit down dinner. Some brides are now opting to just have a cocktail reception or simply a cake reception where only cake and drinks are served.

7. Choose and simple wedding cake design. Order a moderately priced, plainly decorated cake, and make the focal point the cake topper. Floral toppers or flowers used on the cake in some gorgeous blooms and colors, vintage bride-and-groom figurines, wedding bells, monograms or a pair of doves (from an antiques shop or handmade) are toppers that can make a cake memorable.

8. Champagne for toasts only. Instead of serving champagne all night using it for toasts only is a good way of cutting the budget.

9. Re use your wedding flowers. For example bridesmaids bouquets can be reused in centerpieces. Also if there’s an adequate number of ceremony flowers and they’re an appropriate size, they can serve as centerpieces at the reception; otherwise they can decorate behind the headtable,  guest-book, seating-card, and favor tables.

10. Go minimalist with your centerpieces. Instead of decorating tables with large arrangements, float a few flowers in shallow bowls or glass cylinders filled halfway with water. You can also use candles or attractive glass containers with fruits.


11. Use cheaper blooms. Don’t overlook such floral standbys as daisies and carnations. They’re available year-round, are quite affordable, and when arranged en masse make delightful centerpieces and bouquets.

12. Make your own wedding favors. There are tons of DIY ideas now on the internet. Click this link to find 29 ideas http://www.marthastewartweddings.com/228626/boxed-wedding-favors/@center/272429/diy-weddings#/228622

13. Downsize your bridal party. Try to keep the number of attendants as small as possible: The larger the bridal party, the more you’ll spend for gifts, hair and make up and flowers.

14. Edit your guest list. To minimize the guest list, refrain from inviting children and coworkers. Include your friends’ significant others but not casual dates. A rule of thumb I use is if you haven’t talked to the person in 2 years then they aren’t important enough to be on the list.

15. Never be afraid to ask for a discount. Before signing a contract with your caterer, photographer, or florist, try to negotiate a lower yet still reasonable price.
DIY Project: Magnetic Clothespin Seating Chart

DIY Project: Magnetic Clothespin Seating Chart

Seat your guests in style with this easy-to-do DIY wedding project.

Fair warning: Seating your guests is often times the most challenging part of the wedding planning process.  Everyone has an opinion about who should sit where, and your mom’s idea of where her second cousins should sit may not be the same as yours.

Take a break from the stress of the seating puzzle and focus a couple of hours on creating a Magnetic Clothespin Seating Chart to show your guests to their seats (wherever they may be) in style.  This project comes from Khris Cochran’s The DIY Bride Crafty Countdown (The Taunton Press, 2009)-a great resource for tons of DIY wedding ideas.

Supplies

  • 1 sheet of galvanized aluminum flashing, 24 in. by 36 in., available at hardware stores
  • Spray paint in your choice of color
  • Computer with Microsoft Word
  • Printer
  • Plain card stock, 41⁄2 in. by 61⁄2 in.
  • Decorative card stock, 5 in. by 7 in.
  • Double-sided tape
  • Wooden clothespins, spring loaded
  • Decorative paper, 12 in. by 12 in.
  • Scissors or paper cutter
  • Liquid craft glue
  • Small magnets
  • Ribbon

Directions

1. This project starts with a trip outside. In a well-ventilated space, spray a light, even coat of paint on the front of the aluminum flashing. Allow it to dry according to the manufacturer’s instructions. Repeat 1 to 2 more times, until you get full, even coverage. Remember to allow the paint to dry between coats.

2. Next up: the seating chart cards, which will display a list of guests for each table. Open Microsoft Word and go to File menu and choose Page Setup. From the Paper Size bar, scroll down and select Manage Custom Sizes. On the bottom of the dialog box that appears, click the + button and enter “4.5 x 6.5” into this field. This creates a custom page size. In the fields to the right side of the dialog box, enter “6.5” for the height and “4.5” for the width. Use “0.25” for the top, bottom, left, and right margins. Click OK. This will drop you back to the Page Setup menu. Click the Portrait orientation, and then click OK again. You have the template for your table cards.

3. Now it’s time to insert your table names or numbers along with the names of the guests at the table. Create a separate document for each table; I suggest saving each by table number. Print each list onto a piece of 41⁄2-in. by 61⁄2-in. card stock.

4. The next step is to adhere the table cards to the 5-in. by 7-in. decorative card stock. Apply double-sided tape to the back of the printed table cards, and mount each one onto a piece of the decorative card stock. Be careful to center the printed card stock on the slightly larger decorative paper so that there’s a border of pattern on all four sides.


5. You’re almost done! The next step is to decorate the clothespins and attach the magnets. Because there’s no standard clothespin size, you’ll need to measure the front of your clothespins and cut strips of decorative paper to those measurements. Apply a thin, even coat of liquid craft glue to the front of the clothespin and place the paper strips, pressing down to make sure they stick. Let them dry for a few hours before the next step. To get the clothespins to stick to the painted metal board, use liquid craft glue to glue small magnets to the center of the back of the clothespins. Allow the glue to dry for a few hours.

6. As a finishing touch, add a border of ribbon to the top, bottom, and sides of the board, securing the ribbon to the back of the board with double-sided tape. When you’re ready to display the board, simply place a seating card in the jaws of the clothespin and stick it to the magnetic board.

 Crafty Calculator: What to Budget

 Aluminum flashing  $8
 Spray paint  $5
 Clothespins  $1
 Card stock  $3
 Magnets  $3
 TOTAL  $20

Photo by Jack Deutsch, Copyright 2009 The Stonesong Press, LLC

Our Jamaica Destination Wedding Blog

We are wedding and event planners in Jamaica. Our aim through this destination wedding blog is to provide  destination brides and persons getting married in Jamaica with as much information as possible to assist them. We know there is alot of information out there but we are based in Jamaica and have years of experience so who best to turn to.  We are the top wedding blog in Jamaica and we hope to be one of the best wedding blogs out there. We welcome questions and comments.